
Overview
This article provides a quick overview of your SitePoint, including how to charge it, power it on, and understand its LED indicators.
Charging Your SitePoint
Before using your SitePoint for the first time, fully charge the battery.
Charging Instructions
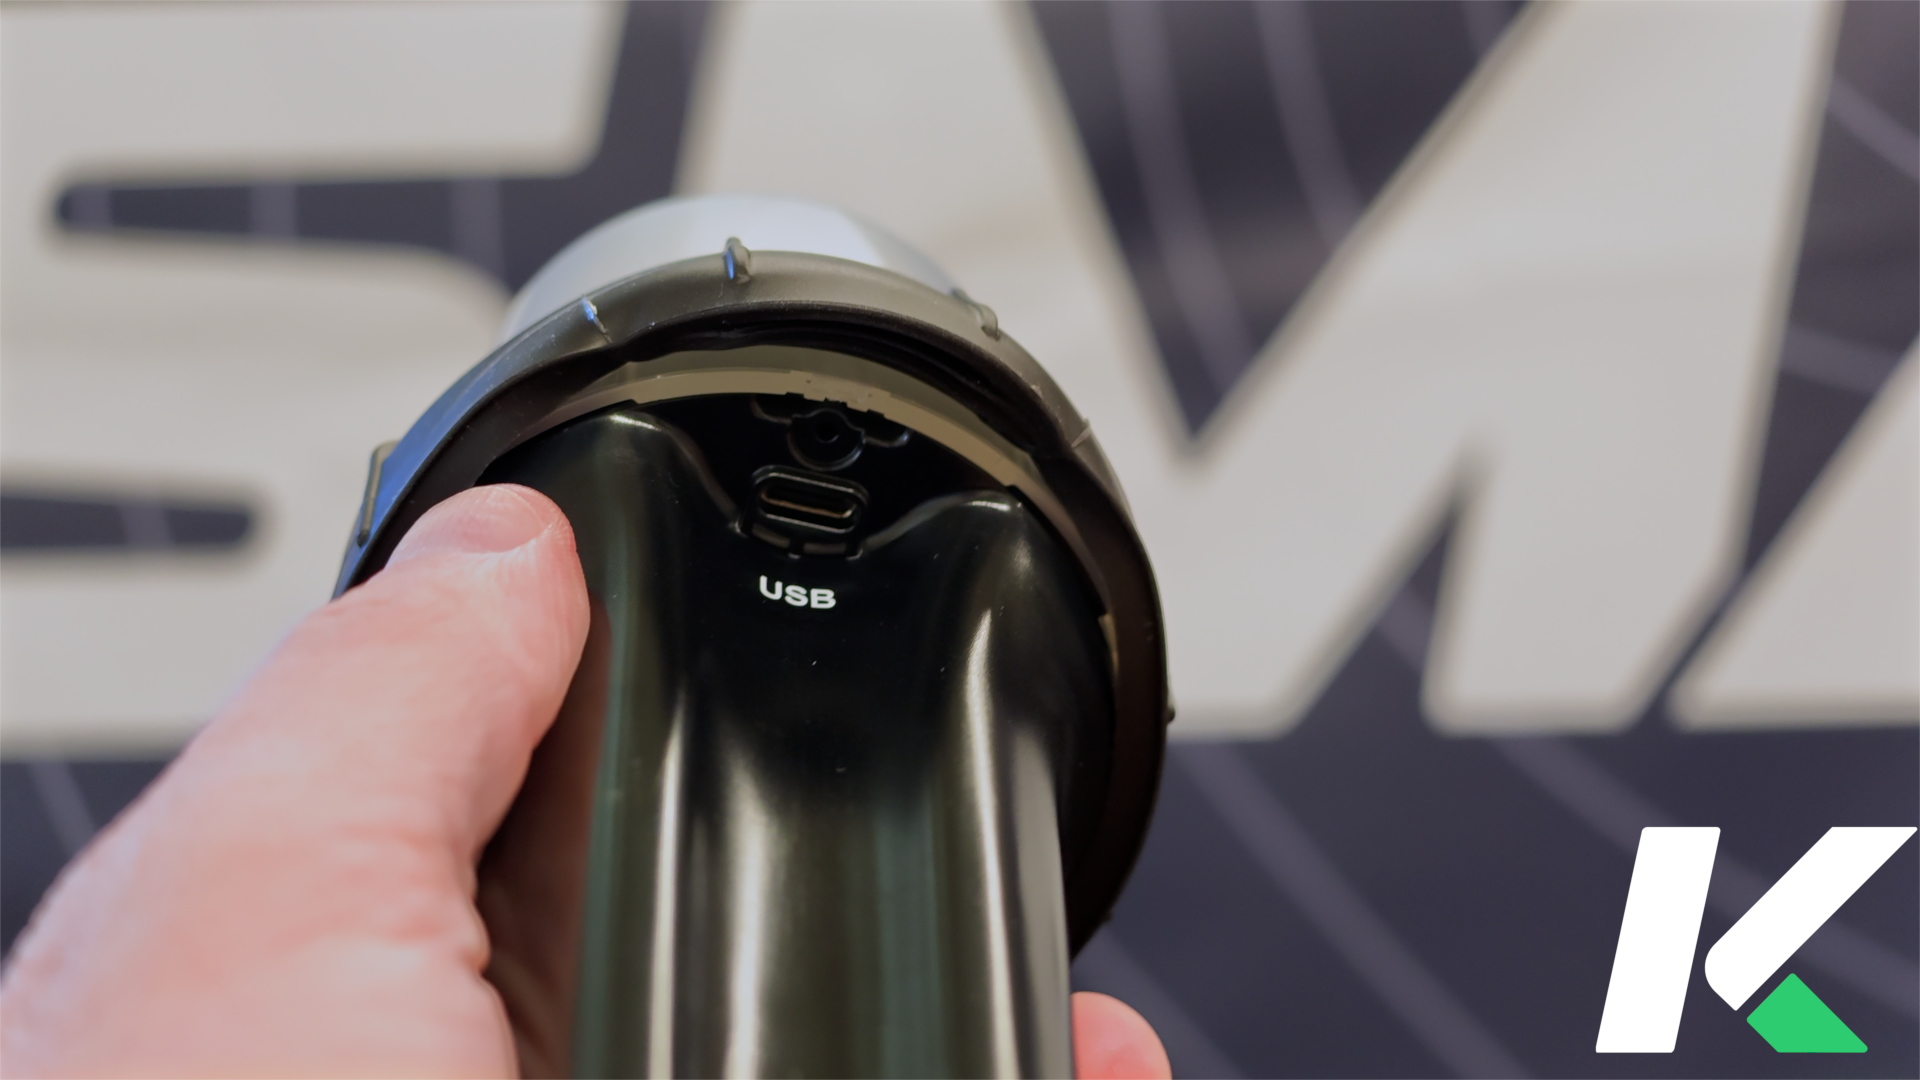
Open the USB-C weather protection flap.
Connect the supplied USB-C charging cable to the SitePoint.
Plug the cable into the supplied USB charging block.
Plug the charging block into a wall outlet.
The power LED will pulse green while charging.
When charging is complete the power LED will turn solid green. Disconnect the cable and close the weather protection flap to maintain the weather seal.
Important
Always use the supplied USB-C charging cable and charging block when charging your SitePoint.
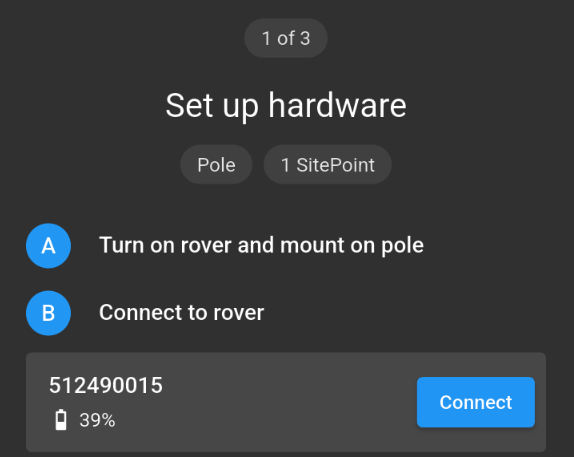
Note: The SitePoint's battery percentage is displayed during the connection setup process, allowing you to verify the device has sufficient charge before beginning your work.
Powering on your SitePoint

Press and hold the power button for 2 seconds to turn your SitePoint on or off.
Battery Indicator (Power LED)
The power button also acts as the battery status indicator.
Note: When the LED turns red, the battery is low. Charge your SitePoint as soon as possible.
Status indicator (Top LED)
The status indicator on top of the SitePoint indicates what the device is currently doing.
Helpful Tips
Keep the USB-C weather flap closed whenever the device is not charging.
Charge the device after each workday so it's ready for your next project.
If the battery indicator turns red, recharge the device as soon as possible.
Was this article helpful?
That’s Great!
Thank you for your feedback
Sorry! We couldn't be helpful
Thank you for your feedback
Feedback sent
We appreciate your effort and will try to fix the article